
Backup to Microsoft SharePoint
Author: Swapna Naraharisetty, 2BrightSparks Pte. Ltd.
SyncBackPro provides an easy-to-use, secure and reliable solution to backup, restore and synchronize files with SharePoint and OneDrive for Business servers. In this article, we will explain the procedure to create a SharePoint profile, and configure a SharePoint site path or a subsite path and a document library in SyncBackPro.
What is a SharePoint Site, Subsite and a Library?
Site
A SharePoint Site is a container to store and organize information. Each site can include lists, document libraries and pages. A Site can contain multiple subsites that relate to the main site. Here is an example of a SharePoint site: https://2brightsparks.sharepoint.com
Subsite
A subsite is a site that is nested inside another site. A site that contains subsites is called a top-level site, e.g. https://2brightsparks.sharepoint.com/sites/testing/default.aspx
In the above example sites/testing is the sub-site of 2BrightSparks SharePoint site.
Document Library
The secure place to store files (or data) in a site or a subsite. A site can have 1 or more document libraries. The default site or any subsite created under that default site includes a document library called a default document library. You can add additional document libraries to a site/subsite if needed (which are then considered as a non-default document libraries), e.g. https://2brightsparks.sharepoint.com/sites/testing/Documents/Forms/AllItems.aspx
In the above example Documents is the name of the document library in the subsite site/testing
Site Hierarchy

Creating a SharePoint profile
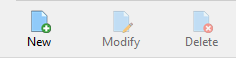
1. Run SyncBackPro and click on New button:
2. Enter a name for your profile e.g. Backup to SharePoint profile, and click Next
3. Select the profile type and click Next (in this example we are going to create a Backup profile type)
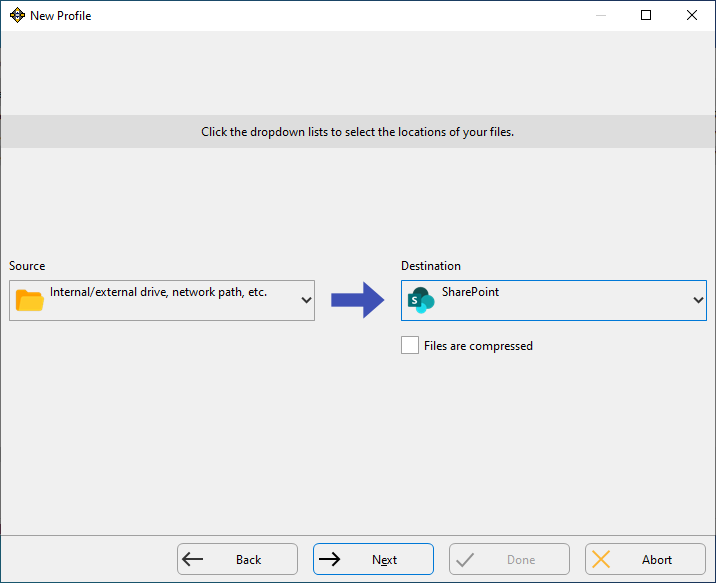
4. Select SharePoint as your Destination and click Next
Configuring the SharePoint site/subsite path
5. In the Cloud Connection Details page, you need to configure the site path or subsite path depending on your destination location. If you don't want to backup to a subsite path then leave the Site Path setting as [default]
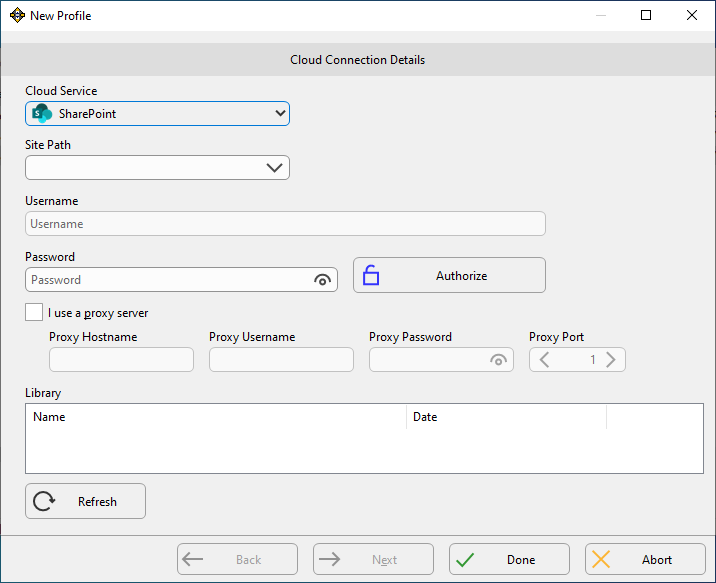
Alternatively, if you want to access a subsite path then enter the path in the Site Path setting. For example, if your SharePoint URL is https://mycompany.sharepoint.com/sites/testing/default.aspx then enter sites/testing in the Site Path. Please refer to SyncBackPro help file > Cloud settings page for additional details on the Site Path setting.

Authorizing with the SharePoint server
6. In the authorization process you will provide SyncBackPro access to your SharePoint account. Click on the Authorize button to initiate the authorization process. SyncBackPro will open a new browser window where you need to enter your SharePoint login credentials, copy and paste the authorization code supplied from the site into SyncBackPro’s dialog window to allow authorized access to SyncBackPro.
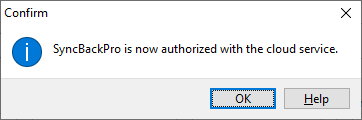
7. Once the authorization is successful a confirmation window will appear saying SyncBackPro is authorized with the cloud server. Click on OK button.
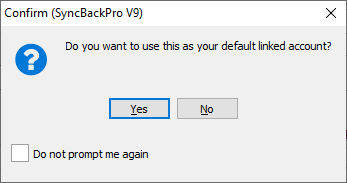
8. A dialog box will appear asking if you would like to use the current SharePoint account as your default linked account. Click on Yes button to store the authorization token provided by the SharePoint server in a central cloud storage, so that SyncBack can use that token automatically when creating a new SharePoint profile, and ensures the same token is used in all SharePoint profiles created in SyncBackPro. Alternatively, you can click on No button if you do not want to use that account as your default linked account.
Configuring the Document Library
9. Click on the Refresh button to retrieve a list of libraries available in a site or subsite path and select the document library to which you want to backup files.
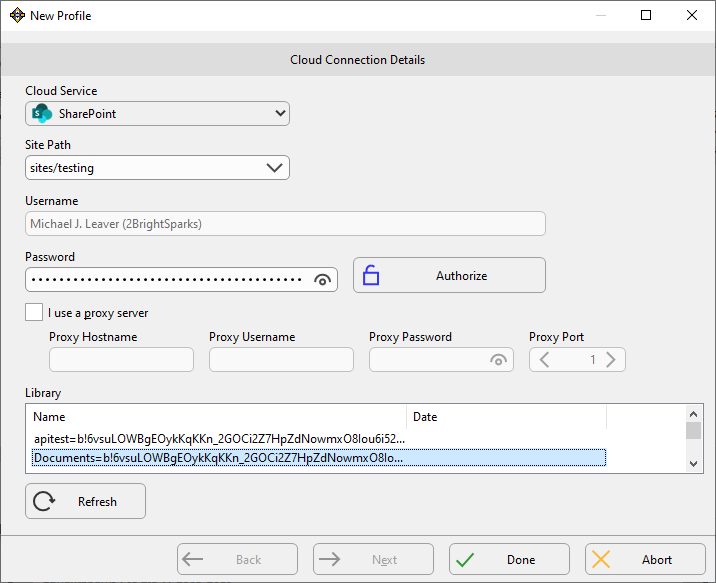
Then click on Done button to close the Profile Creation Window.
Configuring the Profile settings
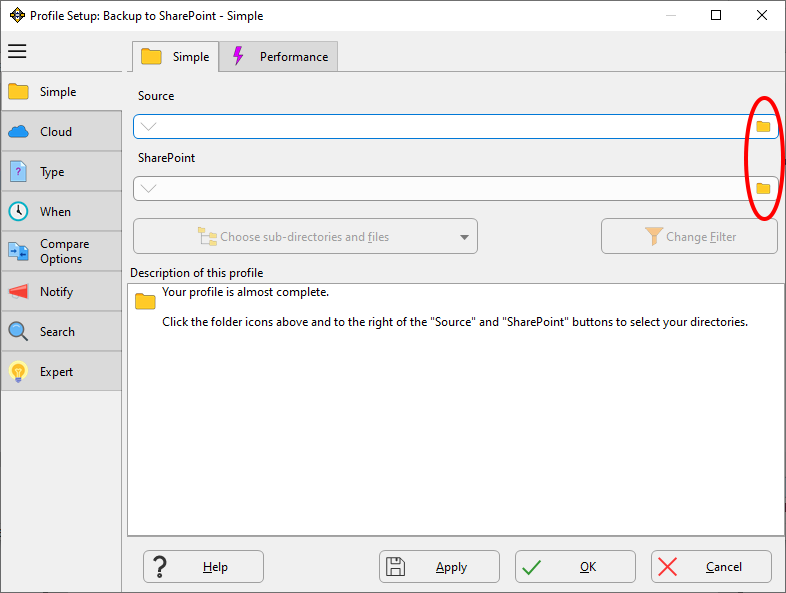
10. A Profile setup window will appear, where you can configure the Profile’s source path and choose a destination sub-folder (if required) to backup files to a SharePoint server. You can do this by clicking on the Folder icon next to Source and SharePoint.
11. In this example we will backup files from C:\Users\Mick\Documents\ to the root folder on the SharePoint site. You can define the Source and Destination paths as per your requirement.
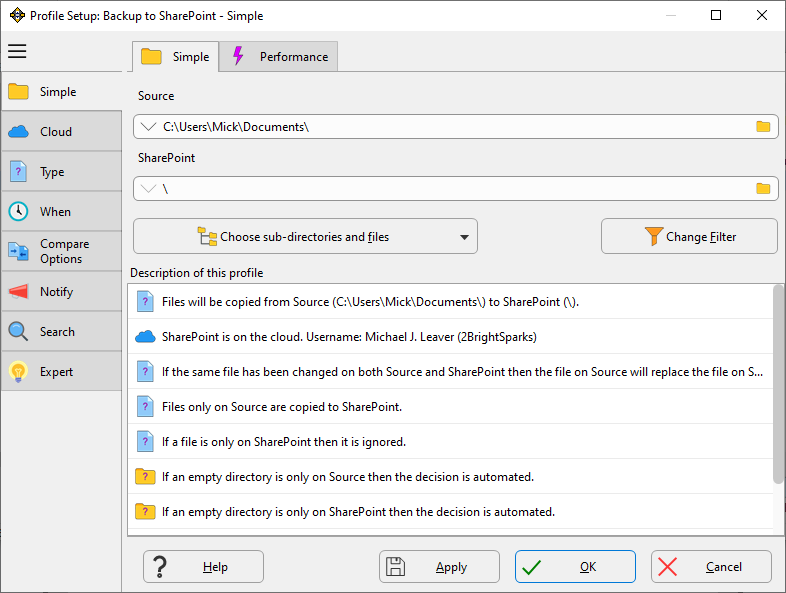
12. Once you have defined the Source and Destination paths, you can configure other settings like Versioning, Compression, Encryption etc., and click on OK button to save the Profile and return to main window.
Running the profile
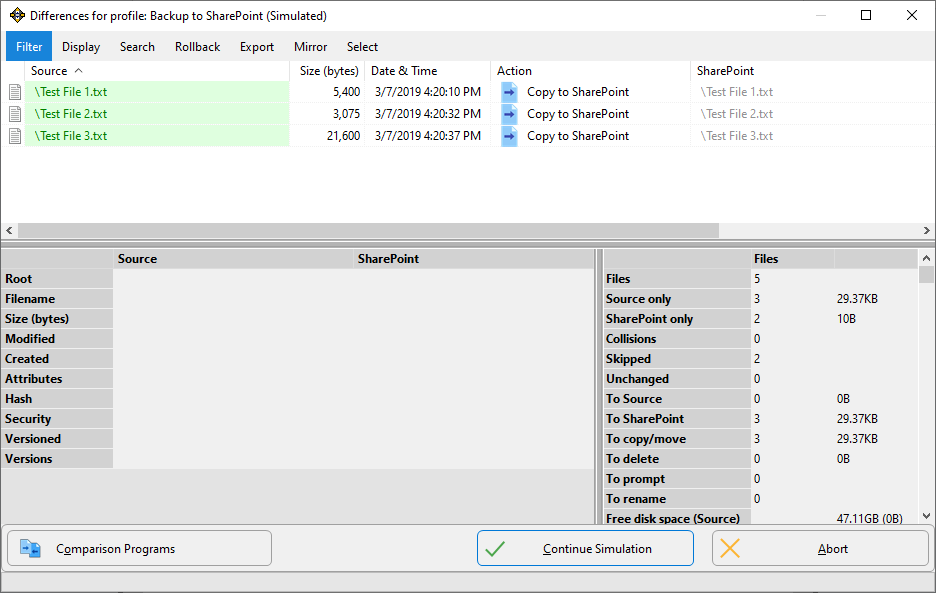
13. Once the profile setup window is closed, a confirmation window will appear asking you to perform a simulated run (a run that simulates actual run). Click on Yes button to run the profile in simulated mode and verify the list of files that will be copied, skipped (or deleted) during the actual run.
14. If the simulated run is completed and it is correct, you can perform an actual run by clicking on the Run button at the bottom of main window. You can also create a schedule task for the profile to run it automatically at the scheduled date/time. Please refer to Beginner’s guide to SyncBackPro for more details on how to do this.
Conclusion
Today, many organizations rely on Microsoft SharePoint server to store and share business documents and information. Therefore, the need for an efficient and reliable backup solution has become critical to the success of the organization. SyncBackPro provides a simplified, secure and automated solution to backup data to/from a SharePoint and OneDrive for Business servers. Additionally, it supports versioning, compression and encryption on files that are uploaded to the SharePoint server.