
Backing Up to Dropbox Using SyncBackPro
Dropbox provides a reliable cloud storage solution for securely storing and synchronizing data between your devices. Backing up important documents, photos, and business files to Dropbox helps protect them from accidental loss and ensures they remain accessible whenever you need them.
In this article, we will show you how to securely back up your data to Dropbox using SyncBackPro in just a few simple steps.
TL;DR
This article explains how to back up data to Dropbox using SyncBackPro. It walks users through creating a new backup profile, selecting Dropbox as the destination, authorizing SyncBackPro to access their Dropbox account, and configuring backup settings. Once set up, users can run the profile manually or schedule automatic backups. SyncBackPro makes it easy to securely and reliably back up files to Dropbox.
Creating a Dropbox Backup profile
- Run SyncBackPro and click the New button to create a new profile.
- Enter a name for your profile e.g. Backup to Dropbox, then click Next.
- Select the profile type and click Next (in this article we will show the procedure to create a Backup profile).
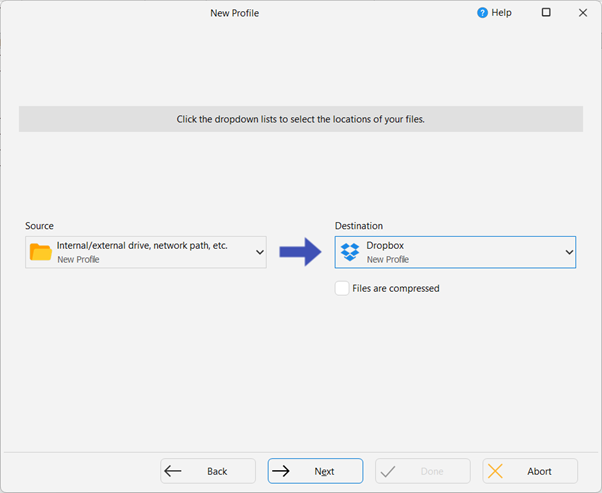
- Change the Destination to Dropbox and click Next.
Authorizing with Dropbox
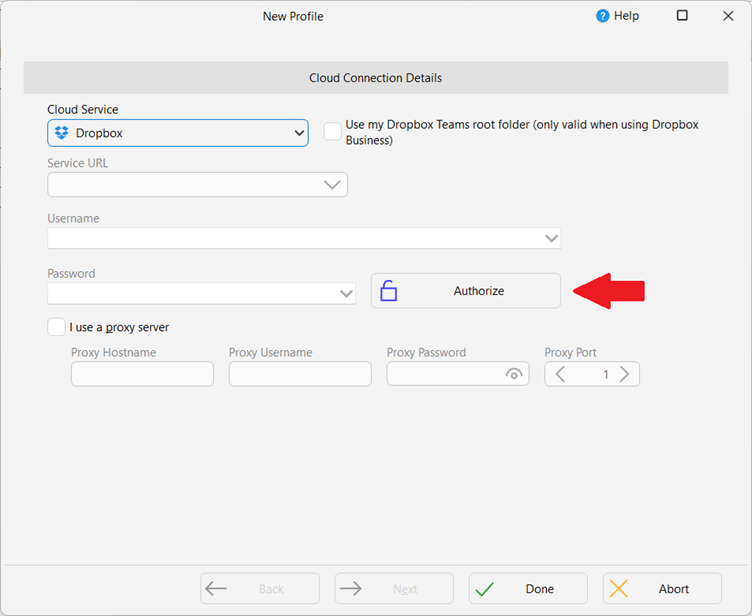
- During the authorization process, you need to grant SyncBackPro access to your Dropbox account. On the Cloud Connection Details page, click the Authorize button to start the process. SyncBackPro will open a new browser window where you can enter your Dropbox login credentials. After logging in, copy the authorization code provided by Dropbox and paste it into the SyncBackPro dialog box to complete the authorization.
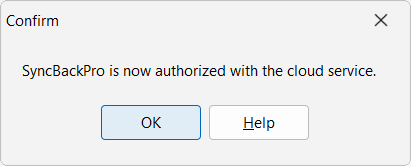
- Once the authorization is successful a confirmation window will appear saying SyncBackPro is authorized with the cloud server. Click the OK button.
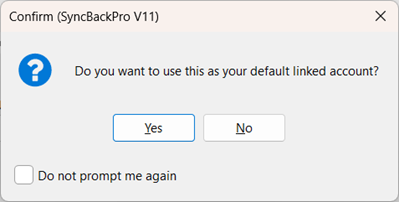
- A dialog box will appear asking if you want to set the current Dropbox account as your default linked account. Click Yes to save the authorization code from Dropbox. This allows SyncBackPro to automatically use it when creating future Dropbox profiles for the same account. If you prefer not to set it as the default, click the No button. Finally, click the Done to close the Profile Creation window.

Configuring the Profile
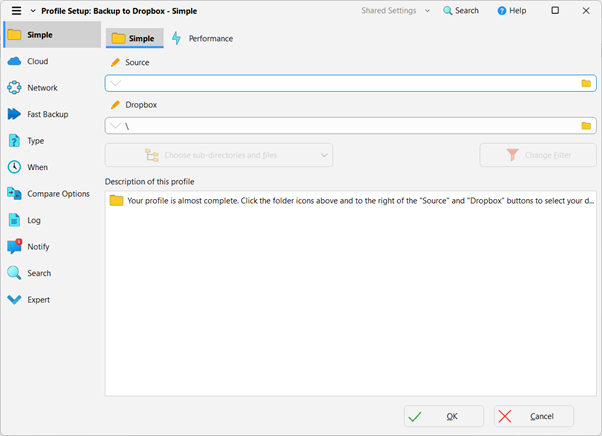
- A Profile Setup window will appear, allowing you to configure the profile’s source folder and select a destination sub-folder on the Dropbox server, if needed. To do this, click the Folder button next to the Source and Dropbox fields.
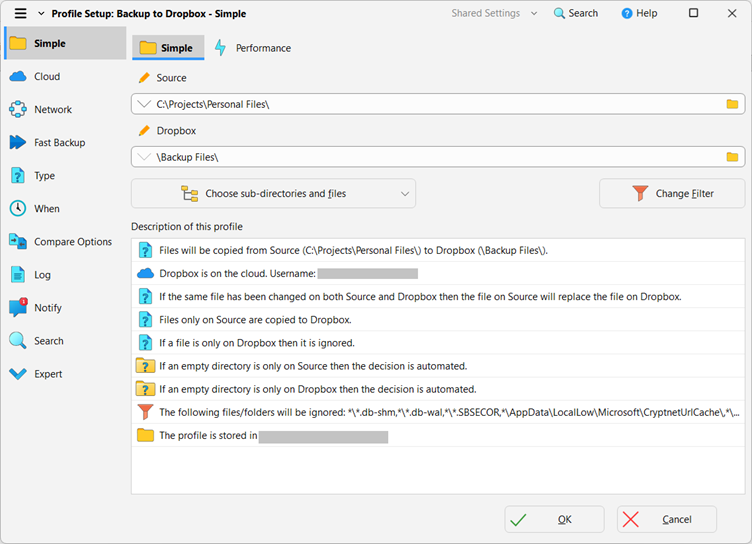
- In this example we will backup files from C:\Projects\Personal Files\ to the Backup Files sub-folder on Dropbox. You can set the source and destination paths according to your needs.
- After defining the source and destination, you can configure additional settings such as Versioning, Compression and Encryption, Integrity Check, and more. Once configured, click OK to save the profile and return to the main window.
Running the Profile
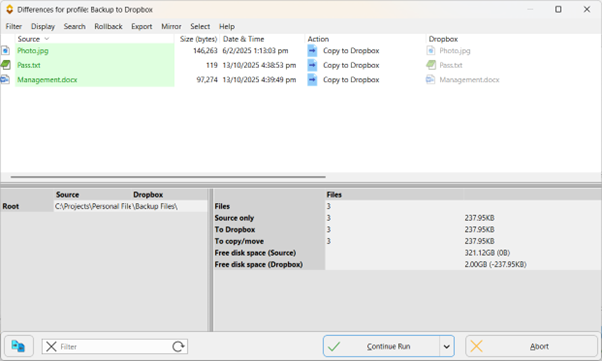
- After closing the profile setup window, a confirmation dialog will appear asking if you want to perform a simulated run (a simulation of the actual run). Click Yes to run the profile in simulated mode and review the list of files that will be copied, skipped (or deleted) during the actual run.
- Once you have confirmed that the simulated run is correct, you can perform the actual run by clicking the Run button at the bottom of the main window. You can also create a scheduled task to run the profile automatically at a specified date and time.
Conclusion
Integrating Dropbox with SyncBackPro provides a secure, efficient, and reliable way to back up your important files to the cloud. With easy profile setup, flexible configuration options, and the ability to automate backups, SyncBackPro ensures your files remain secure and protected, so you can access them whenever and wherever you need.
Download SyncBackPro and start backing up to Dropbox today.