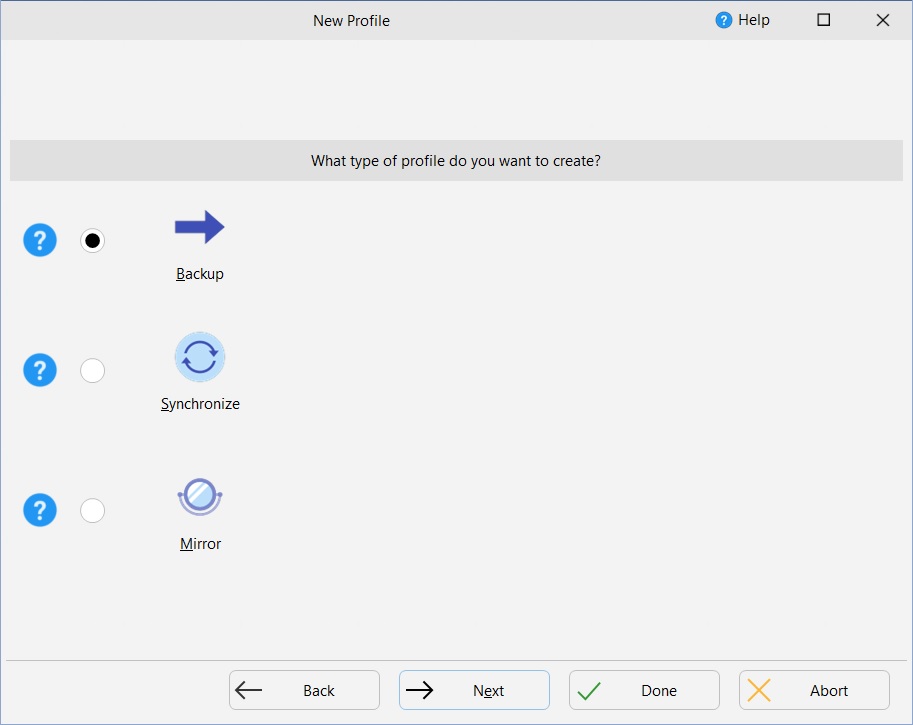
Profile Types
Choose a Backup profile when you want to backup (copy) your new and modified files to another place, e.g. an external hard drive or an FTP server.
|
|
|
Source |
Backup |
Destination |


Choose a Synchronization profile when you have two directories in which files are changing and you want them both to contain the same files. For example, you may have a directory on your computer containing documents you are working on. A colleague may also be working on documents on his computer. If you want to copy his new and modified files to your local directory, and copy your new and modified files to his directory, then you need to use a Synchronization profile.
|
|
|
Source |
Synchronization |
Destination |
Choose a Mirror profile when you want one directory to be identical to another directory. It is not the same as a backup because it deletes files. It is also not the same as synchronization because it only copies files in one direction.
|
|
|
Source |
Mirror |
Destination |


What is the difference between Basic and Intelligent Synchronization?
Intelligent Synchronization keeps track of what changed the last time the profile was run so that it knows if a file has been deleted, created, or changed since the last profile run. This helps you (and SyncBack) make an informed decision about what to do when something changes. It also gives you a comprehensive choice of options on what to do with a file when specific things happen, e.g. the file is deleted for the source but not the destination. Regular synchronization does not keep track of changes and has a limited set of options. Whenever possible you should use Intelligent Synchronization instead of regular synchronization. If you import a sync profile from V3 then it will not be using Intelligent Synchronization (as that feature was not available in older versions) and instead will be using the old basic synchronization.
Choose a Group profile when you want to create a profile that contains other Backup or Synchronization profiles. This allows you to run many profiles at once.
So what is the difference between a backup process and a synchronization process?
|
A backup process copies files in one direction: from the source to the destination. A Synchronization process copies files in both directions: from the source to the destination and from the destination to the source. |

Creating Profiles
A profile stores information about the folders or files you would like to backup or synchronize using SyncBackPro. Profiles can be very specific as to what, when, and how a given task is performed, but we are going to be concentrating on creating a simple backup profile.
|
Be aware that different settings and choices will become available during the profile creation process depending on what you would like SyncBackPro to do. If you are uncertain in any way about the different options available, please read the Understanding Backup and Synchronization before you create a profile. |
The Profile Setup Wizard walks you though the process of setting up your profile.
The default settings in the SyncBackPro Profile Setup Wizard will help ensure you will easily create a Backup profile.
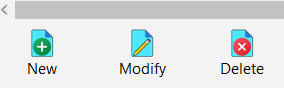
Click the New button located on the lower left of the program window:
The Profile Wizard window will appear. The window is large to accommodate the varied settings and input fields that can appear during the profile setup process depending on the choices you make. If you would like to know more about a program window simply click the F1 key to view the help section relating to it.
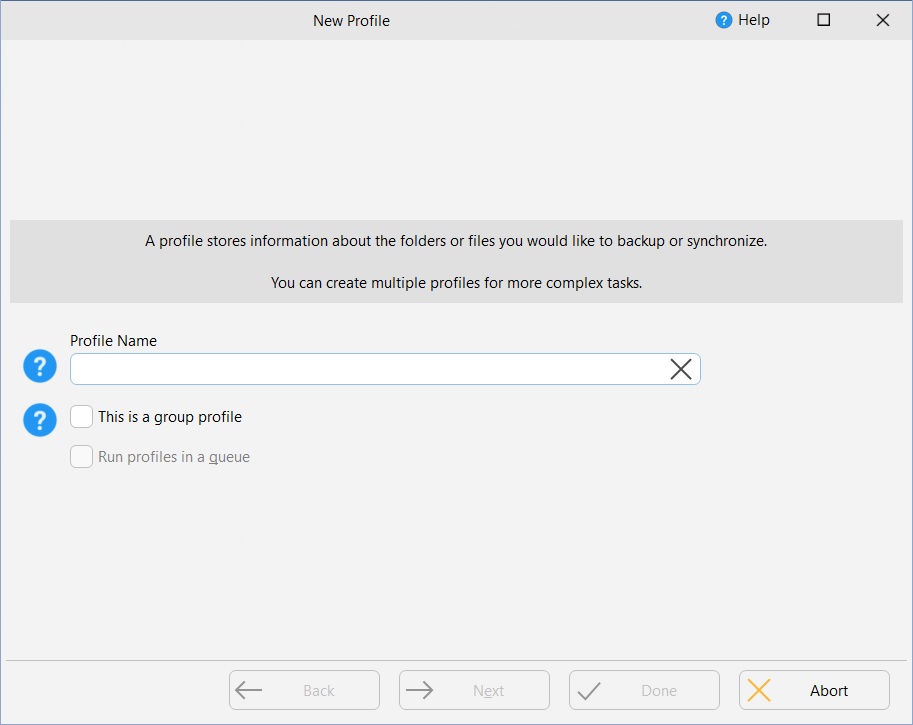
Enter a name for your new Profile:
Click Next located at the lower right of the window.
For this example we are creating a backup profile which is the default option:
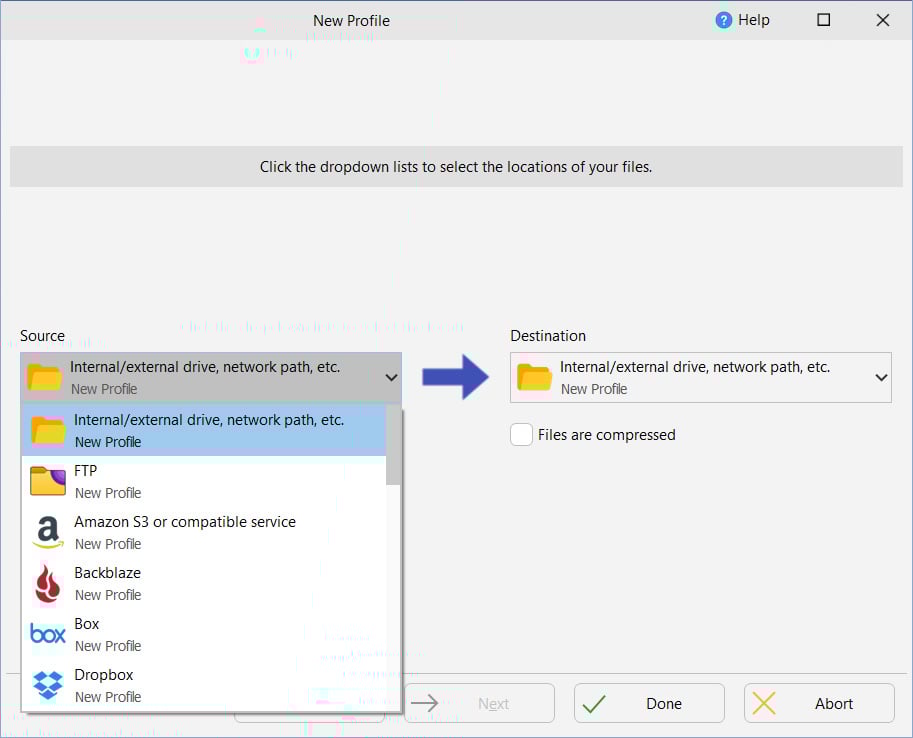
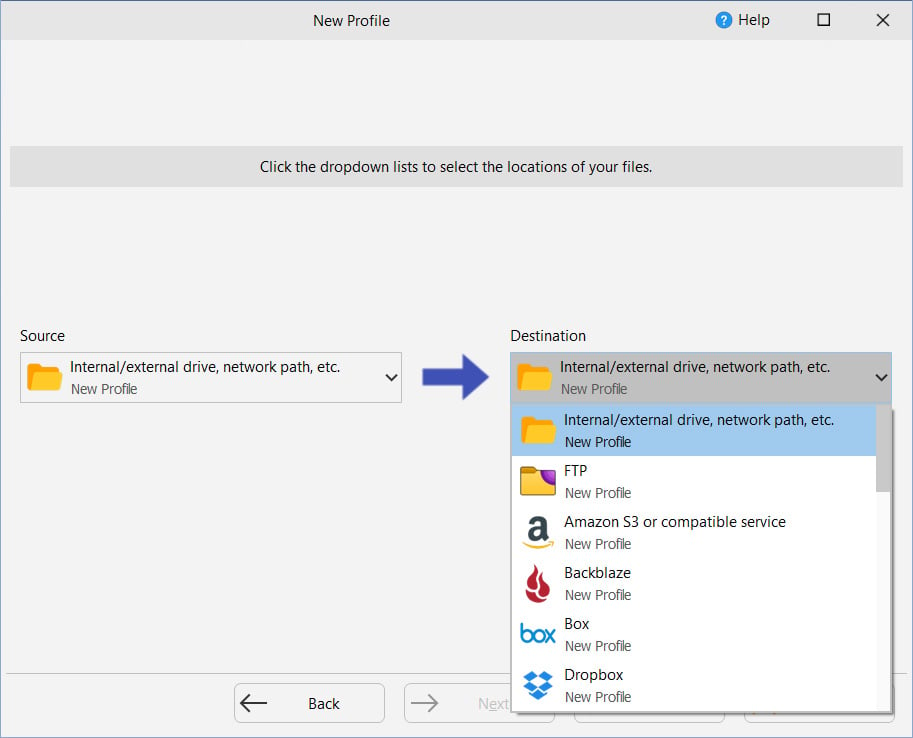
The wizard will ask whether you wish to choose the Source and Destination. The Source is where you are copying your files from, and the Destination is where you are copying your files to.
The Internal/External drive, network path etc. option is always the default on each side unless a different option is selected from the drop down lists. Available options can vary depending whether it will be the Source or Destination (for example, Email messages can only be a Source). It should be noted that selecting a non-default option for one side generally means you can only select the basic/default ('drive or network path') option for the other side. This is due to internal design aspects.
In this example where the default settings are used, you need only click the Done button. But if you choose non-default settings, an additional Next button may appear, whereby you can optionally specify additional settings (alternatively, you can complete them in the main Profile Setup window later). For example, if you choose FTP from the drop down list, and click Next, you will be prompted for your FTP details. For technical reasons, if you do click Next (where available), you will not be able to switch Back to the previous wizard screen and will thus - if you change your mind - need to Abort the wizard and restart the process.
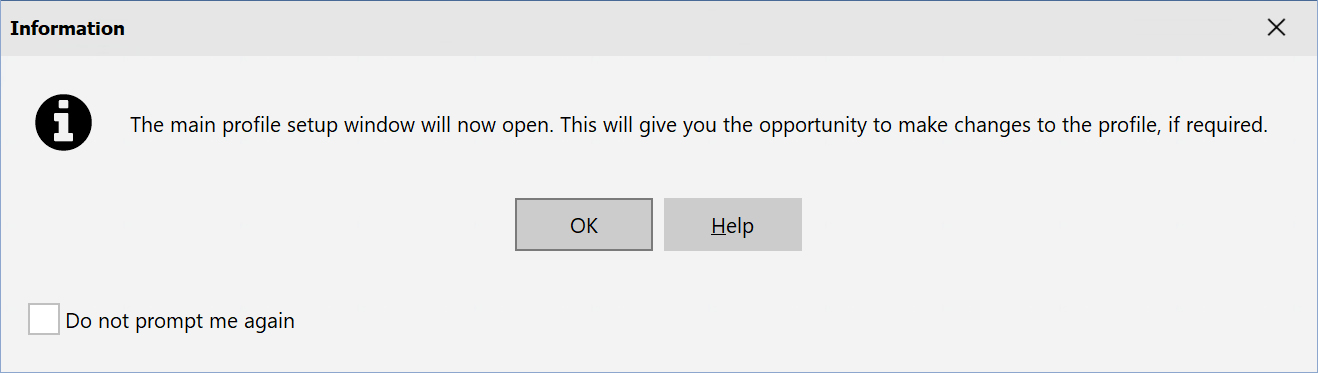
An information window now appears informing you that you will be able to view and make changes to your profile. Click OK:
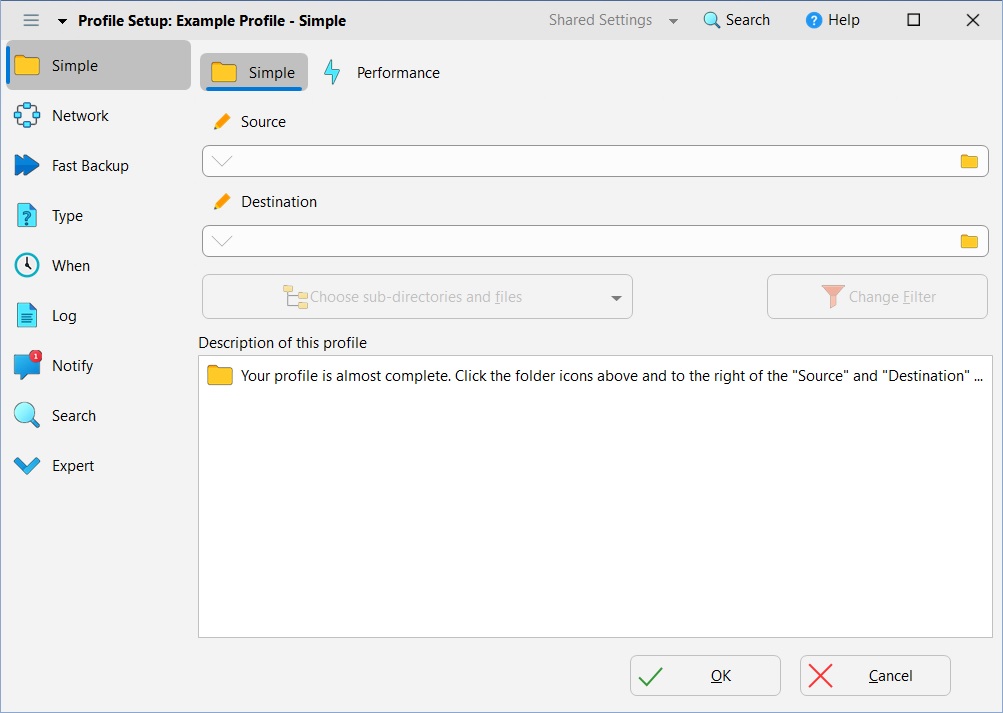
The Profile Setup window now opens. You will need to define your Source and Destination locations by clicking each of the flashing blue folder icons. Be aware these will change to yellow folder icons after a few seconds:
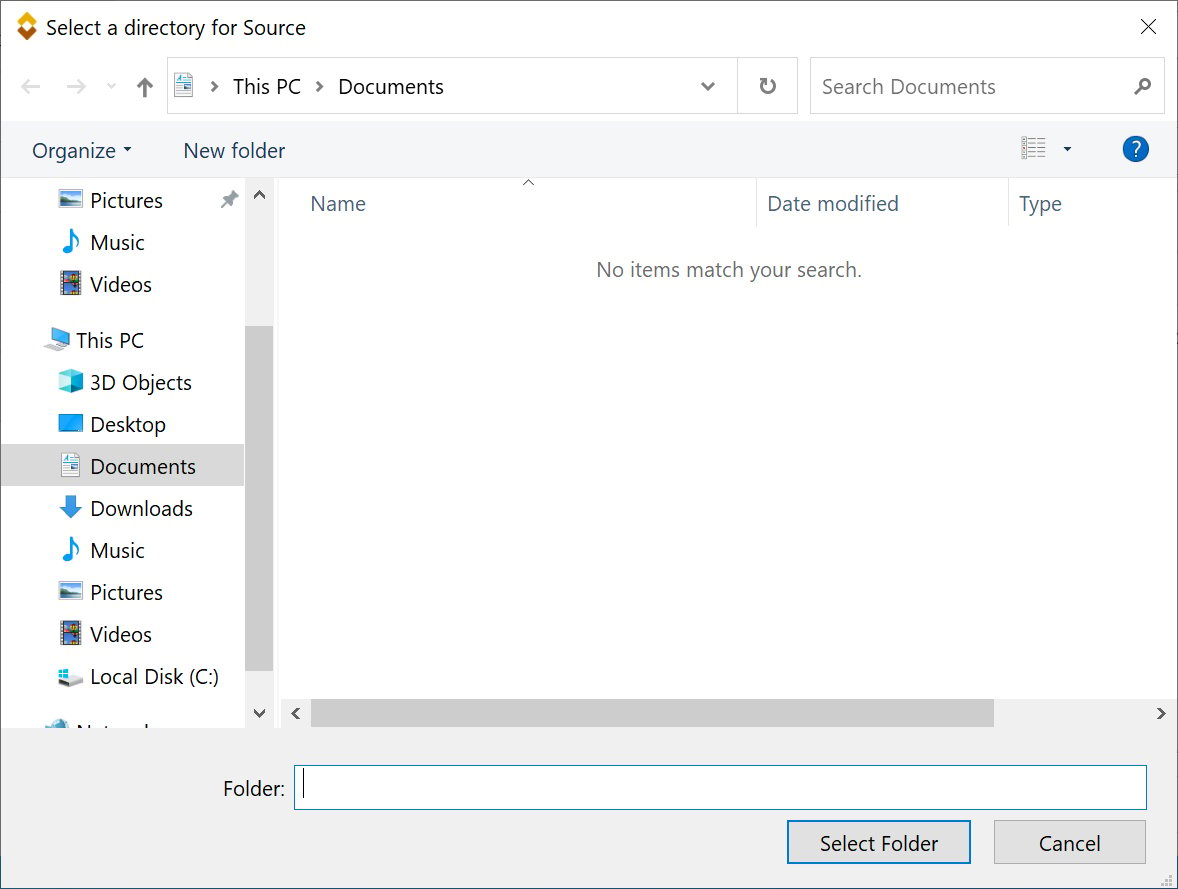
When you click the folder icon a directory selection window will appear in which you will locate your source or destination - Click Select Folder.
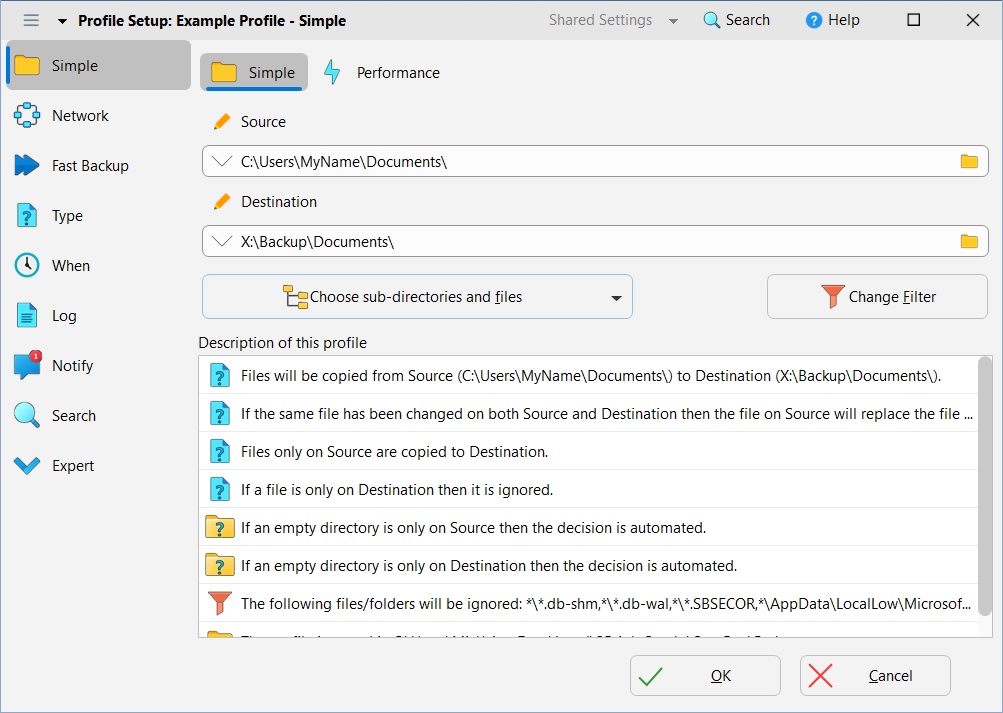
The Profile Setup Window will now display all the selections you have made. You will notice that by default SyncBackPro has automatically built options that will make your backup proceed more reliably and quickly than if you simply copy the contents of the My Documents folder into another drive:
Click OK. A Window will open which asks whether you would like to perform a simulated run. This allows you to check the profile functions correctly without actually copying any files. Click Yes.
In the following example a Business profile has been defined, the simulation accepted, and the Differences window opens.
The Differences window shows all the files that would be copied in an actual run. Click Continue Simulation:

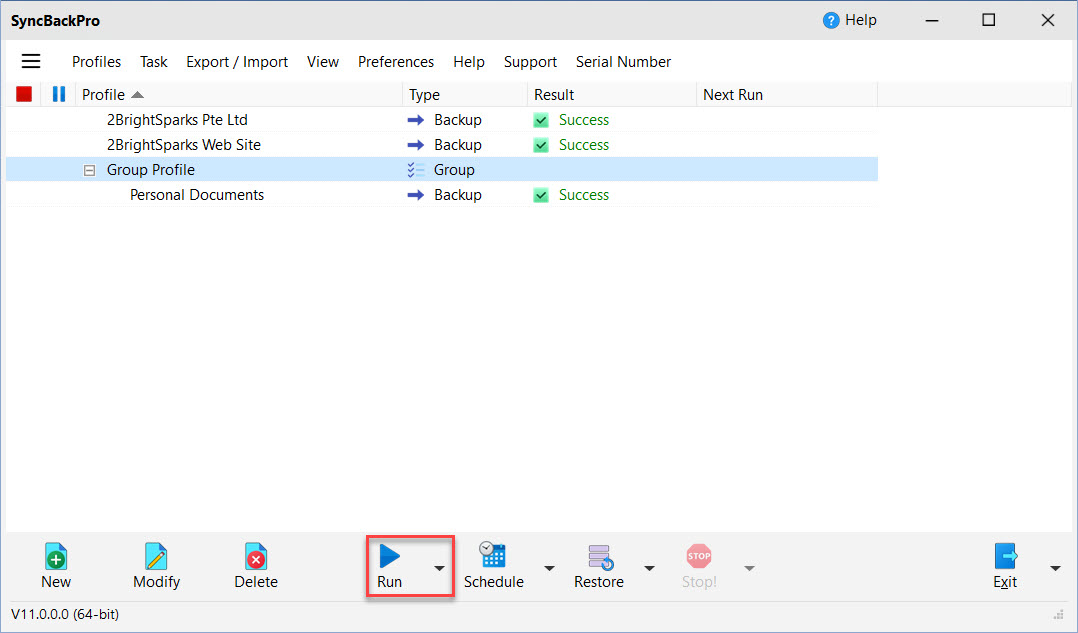
The main program window will now open. You may now run this backup profile at any time by selecting a profile and then clicking the Run button:
The next section of this help file shows you how to 'Run' the Profile.
All Content: 2BrightSparks Pte Ltd © 2003-2026