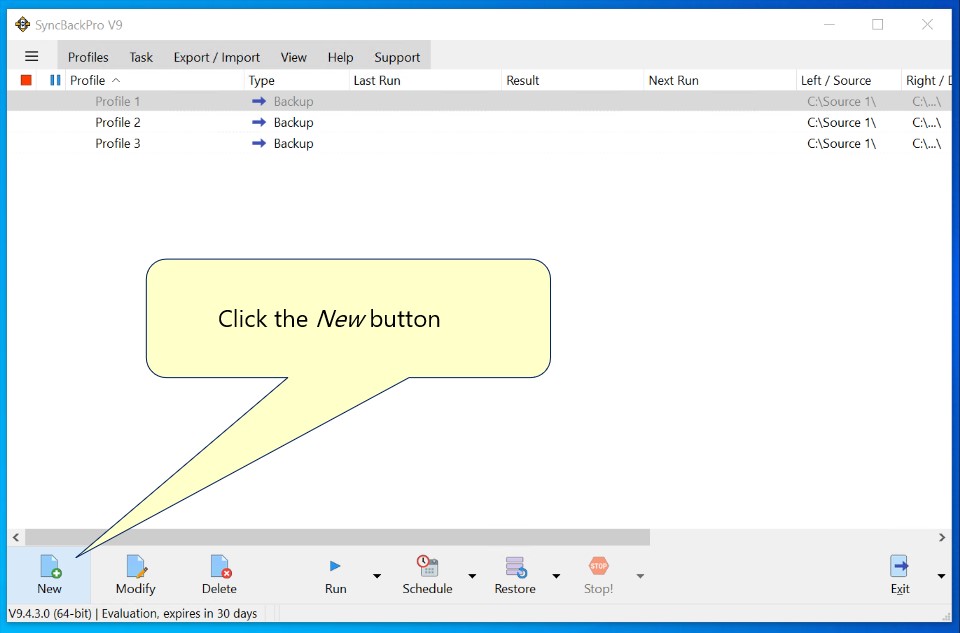
Click the New button
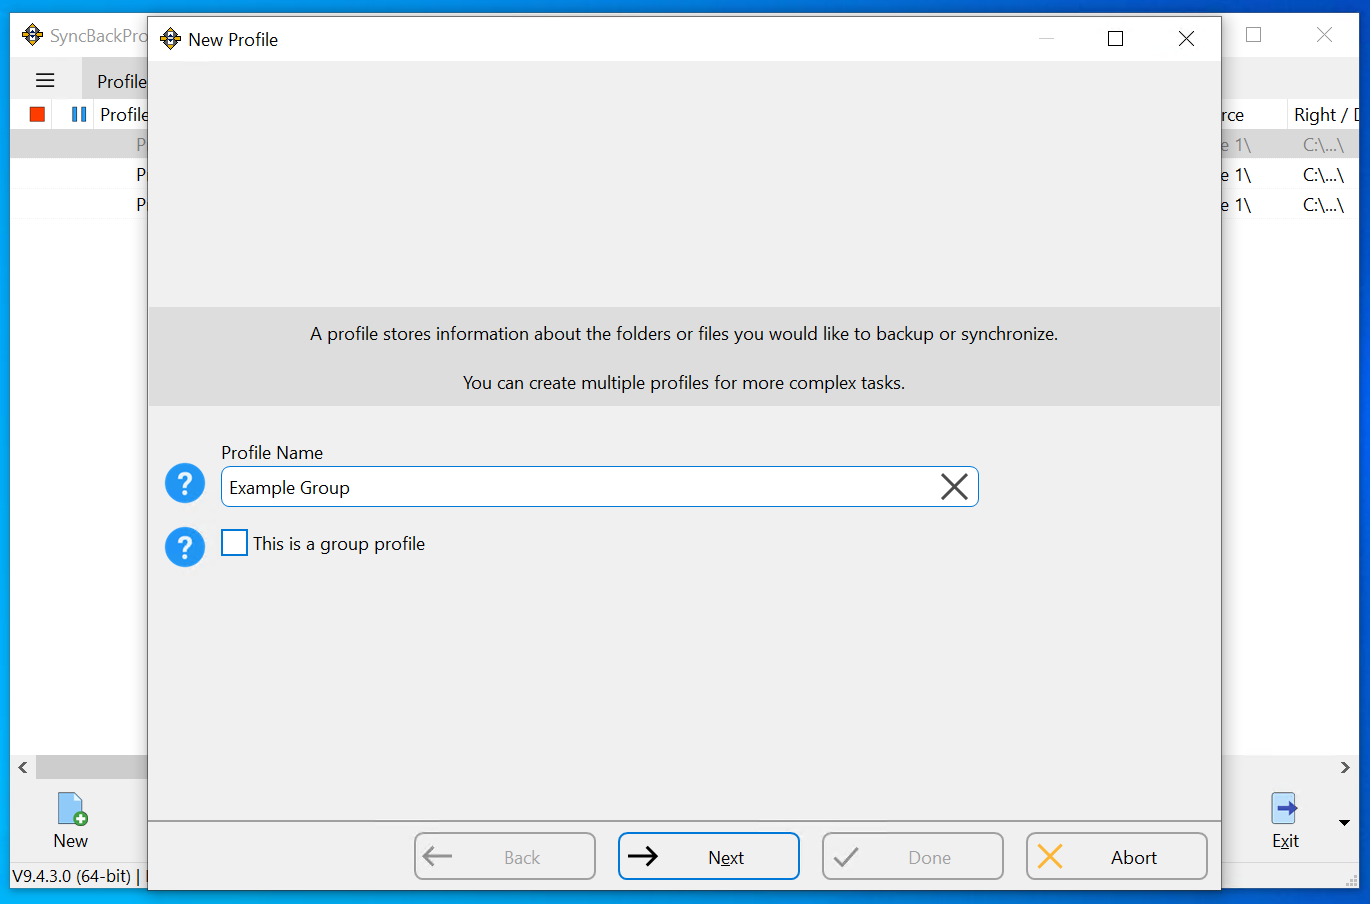
Enter a unique name for your group profile

Click the This is a group profile checkbox
Finally, click the Done button
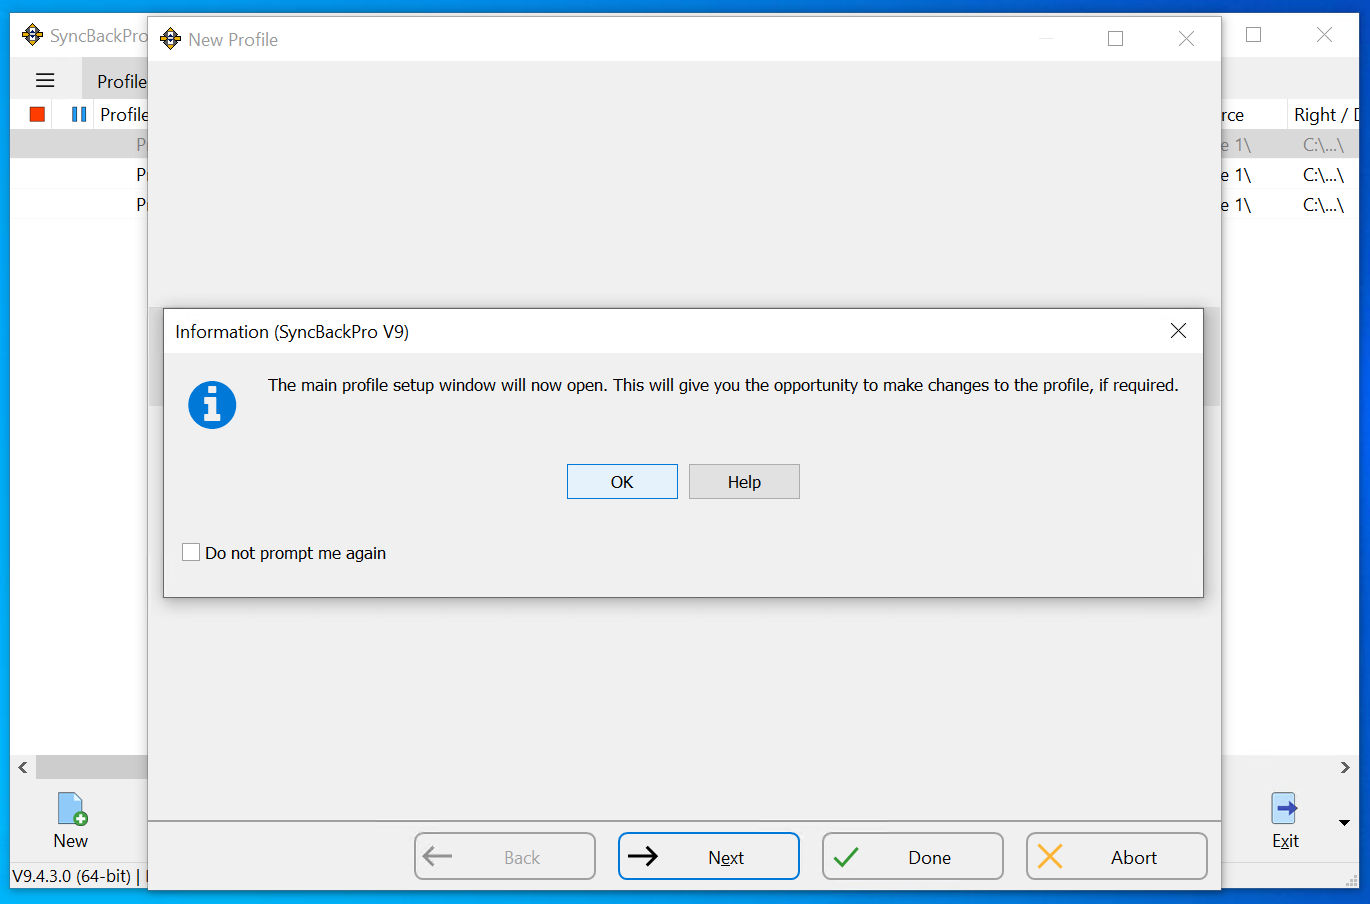
Click OK
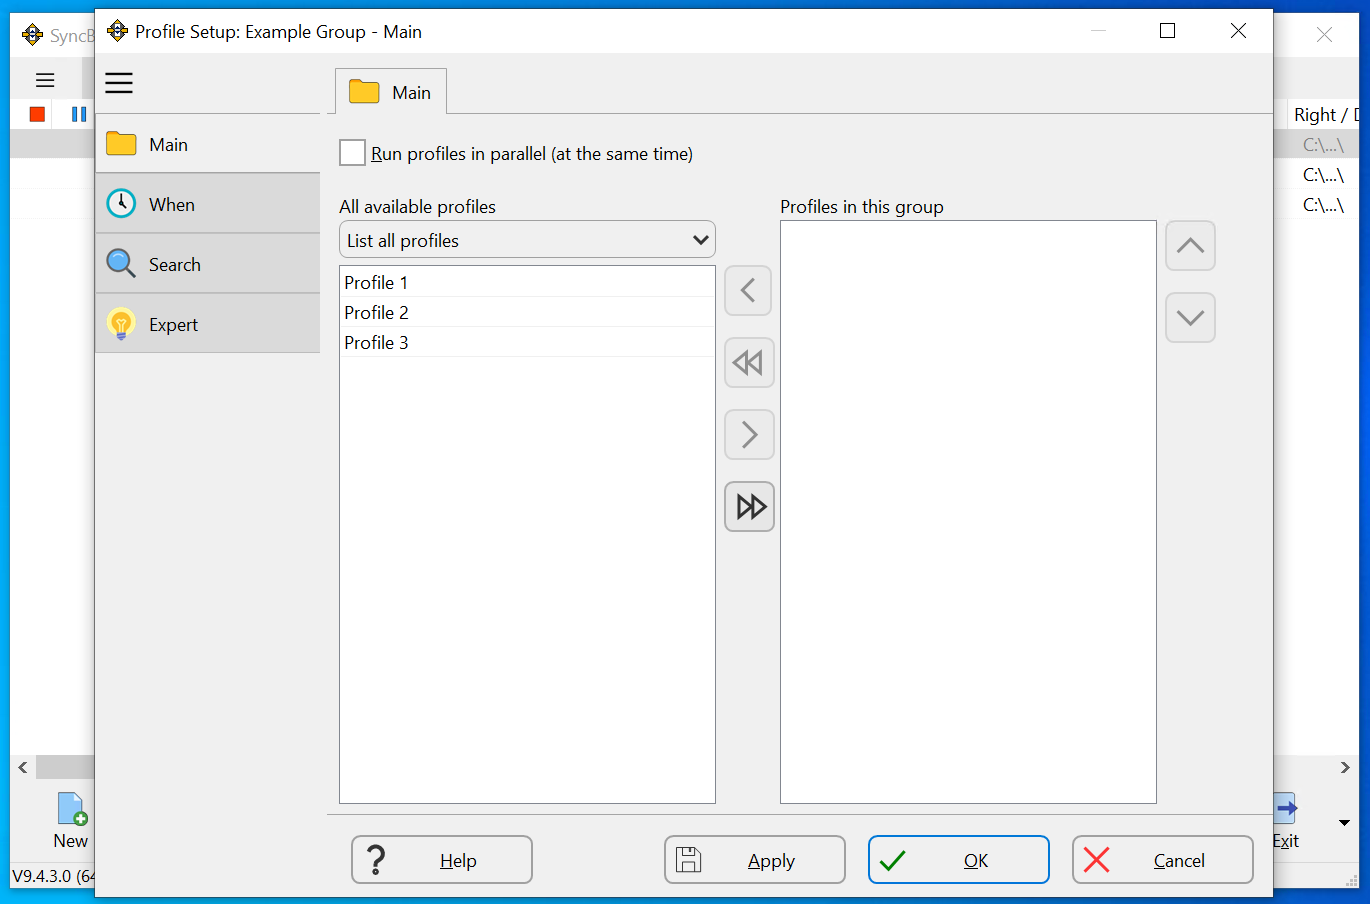
The profile setup window will appear. Here you can see all the profiles that can be included in your group profile.
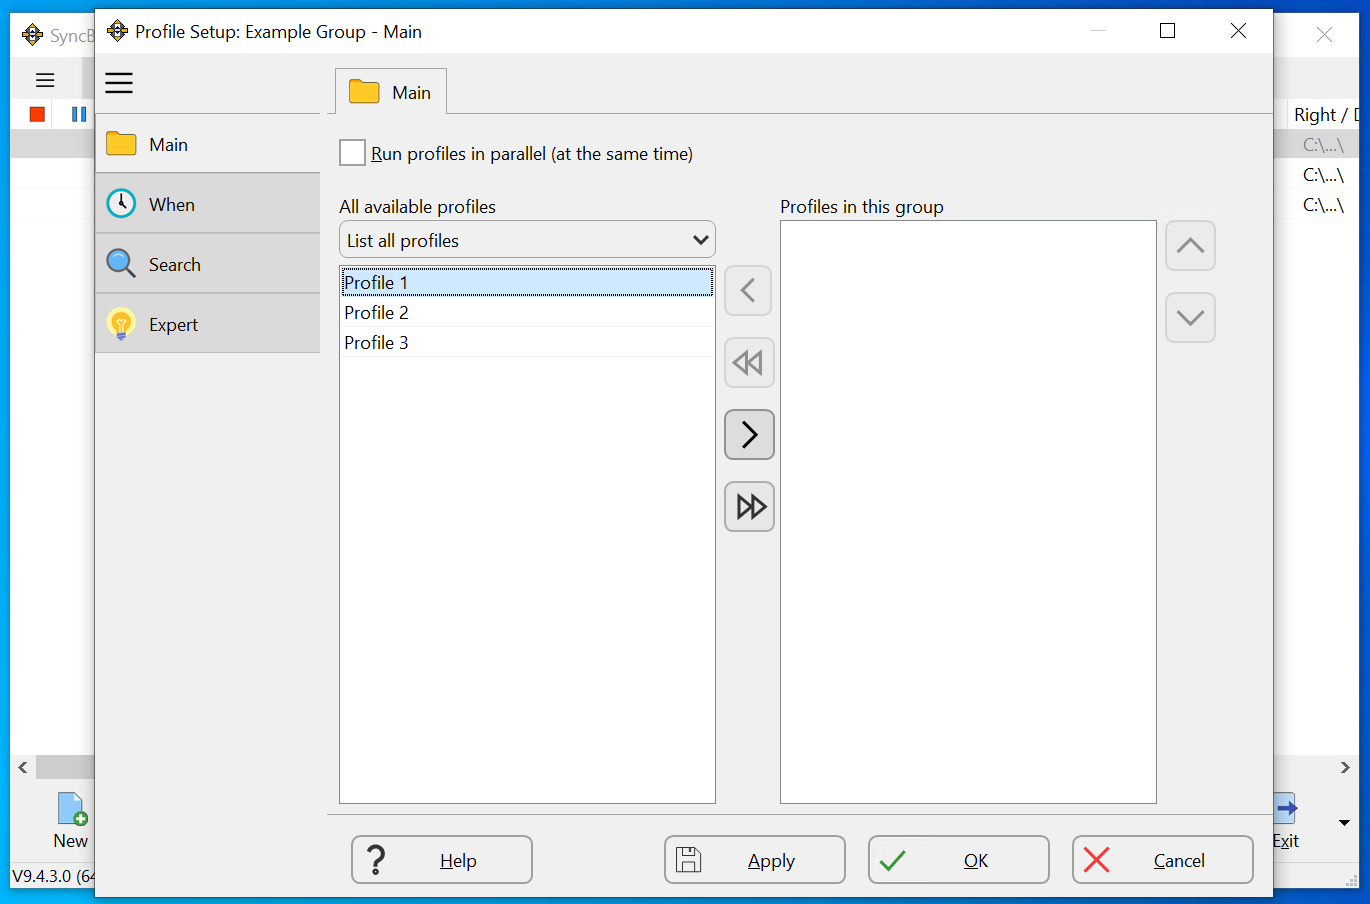
To select a specific profile that you want to include in your group, first click on it in the list.

Next click the > button to add it to the group.
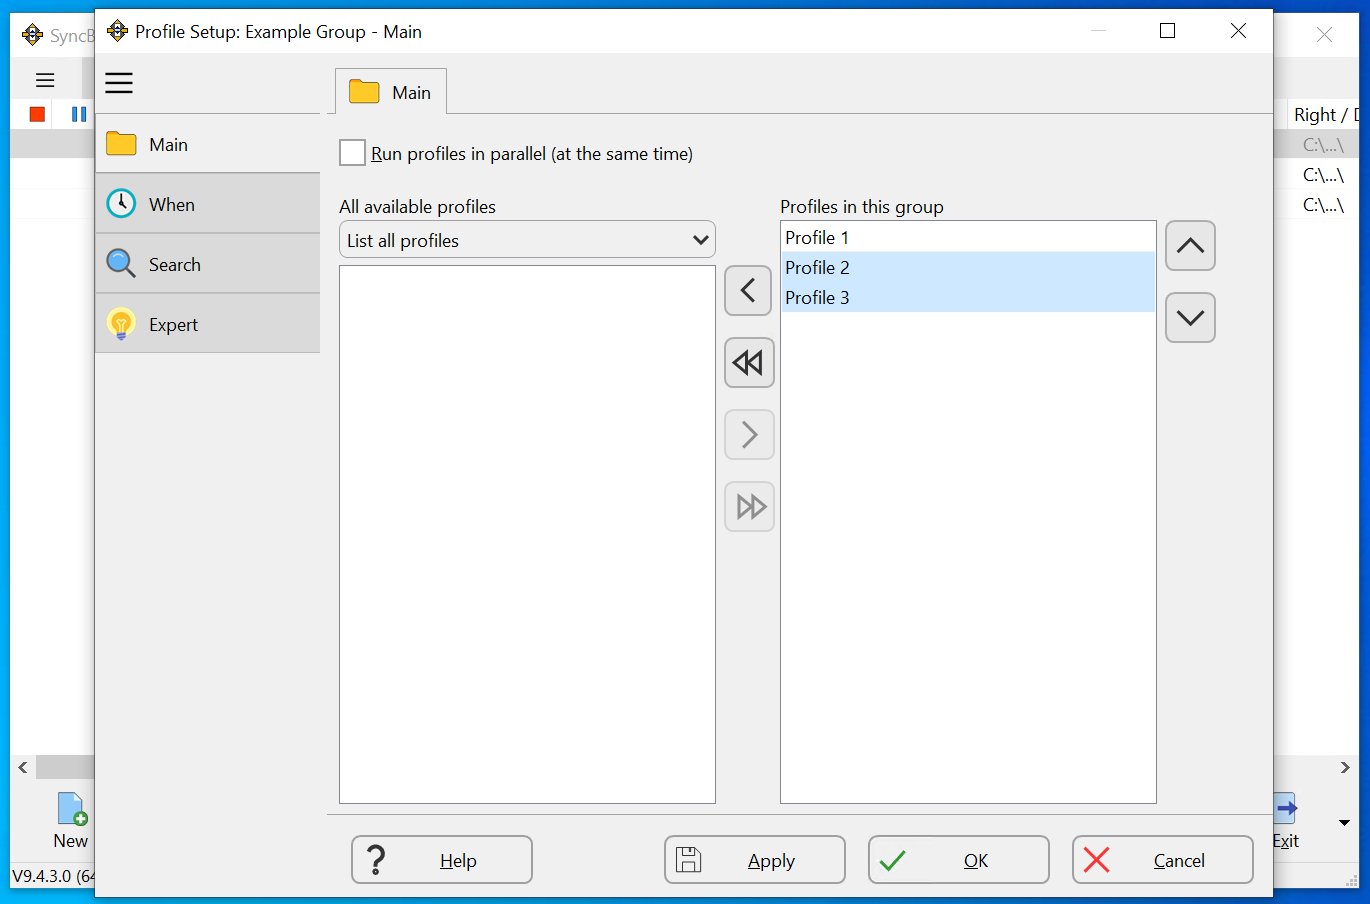
To add all the profiles to the group, click the >> button.
To remove profiles from the group, use the < and << buttons
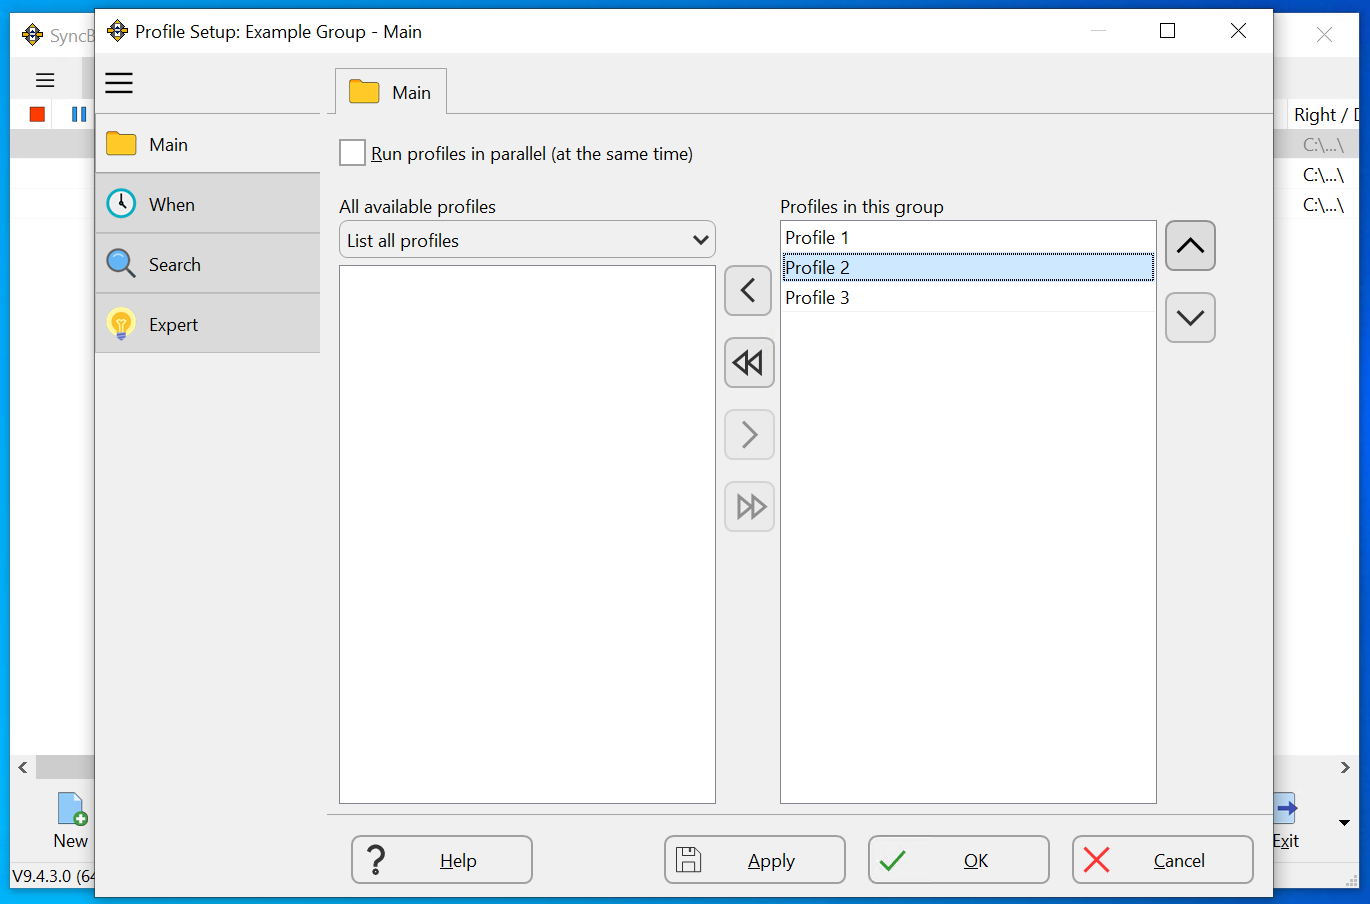
If the profile is not set to run in parallel, then the profiles are run in the order you select. To change the order, first click on the profile you want to move.
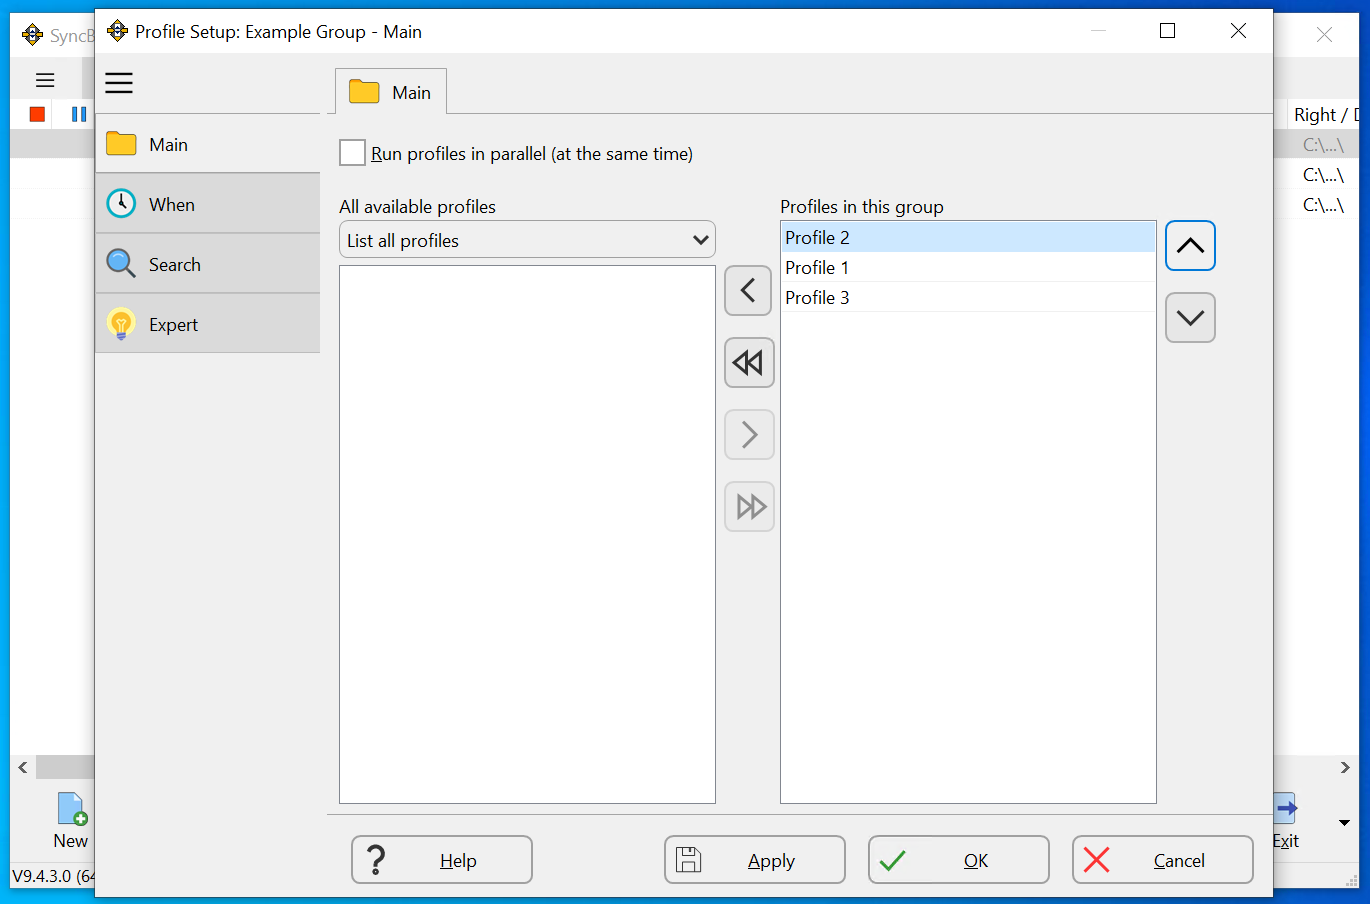
Next, click one of these buttons to move it up or down. In this case we moved Profile 2 up, so it executes first in the group.
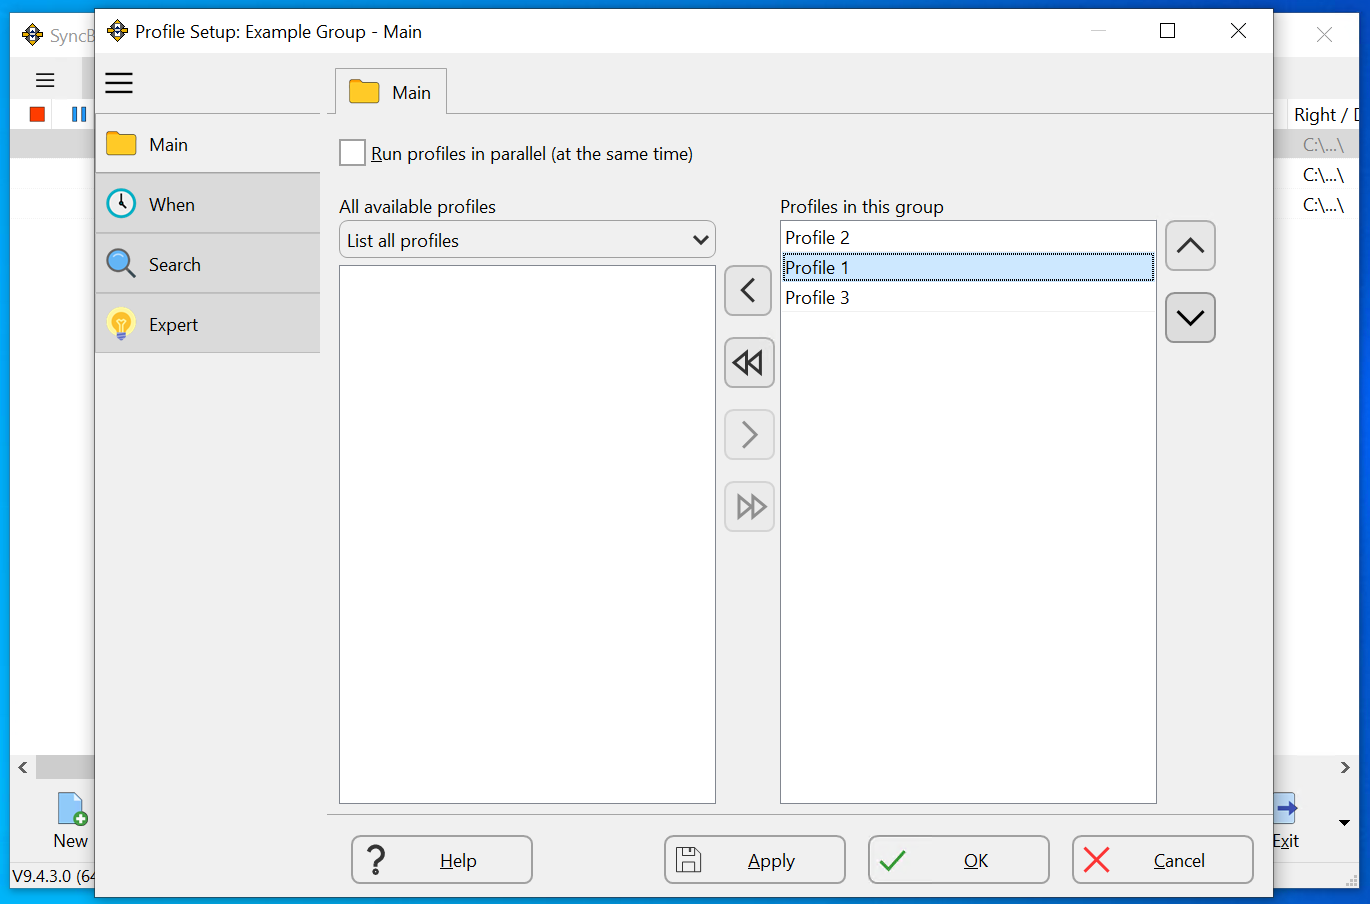
Now we are going to move Profile 1 to the end of the list. First, we select it in the list.
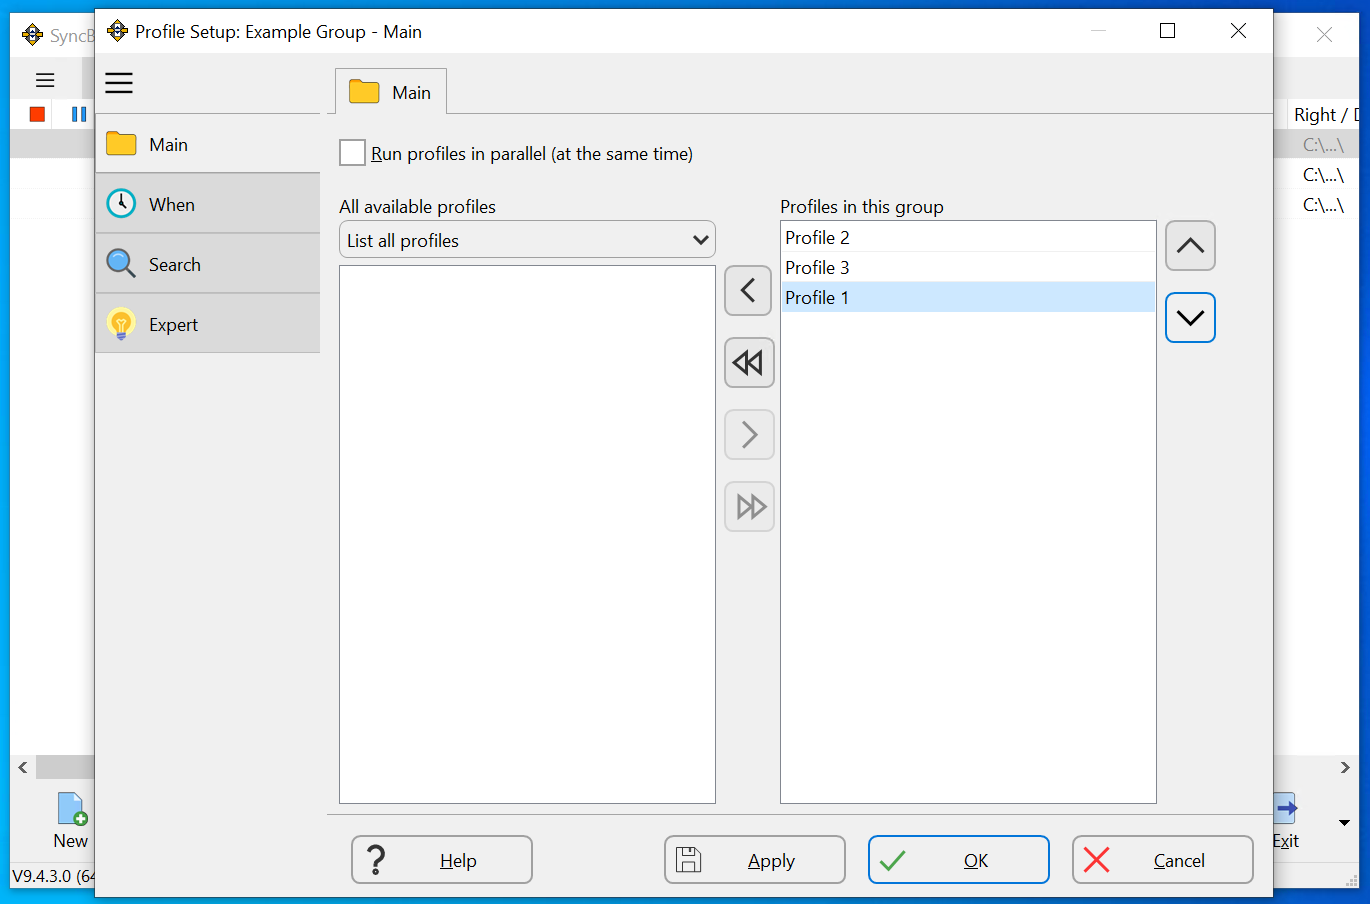
Next, we click the down button to move Profile 1 to the end of the group. It will run last in the group.
Finally, we click the OK button to save the group
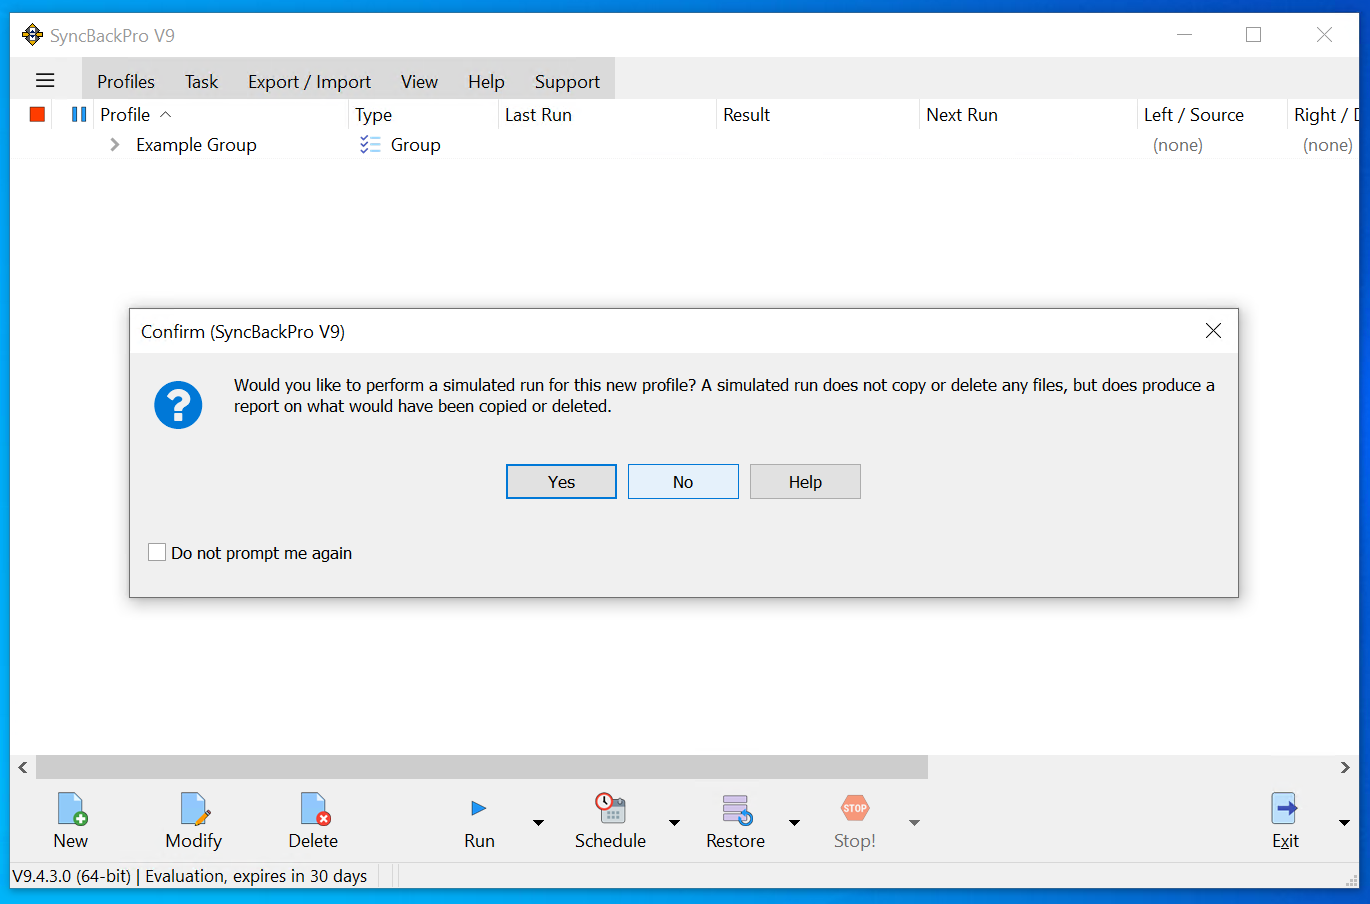
By default, we are asked if we'd like to test the group by running it simulated. In this example, we'll click the No button.
We can expand the group to see what profiles are in it by click the > expand button next to the name
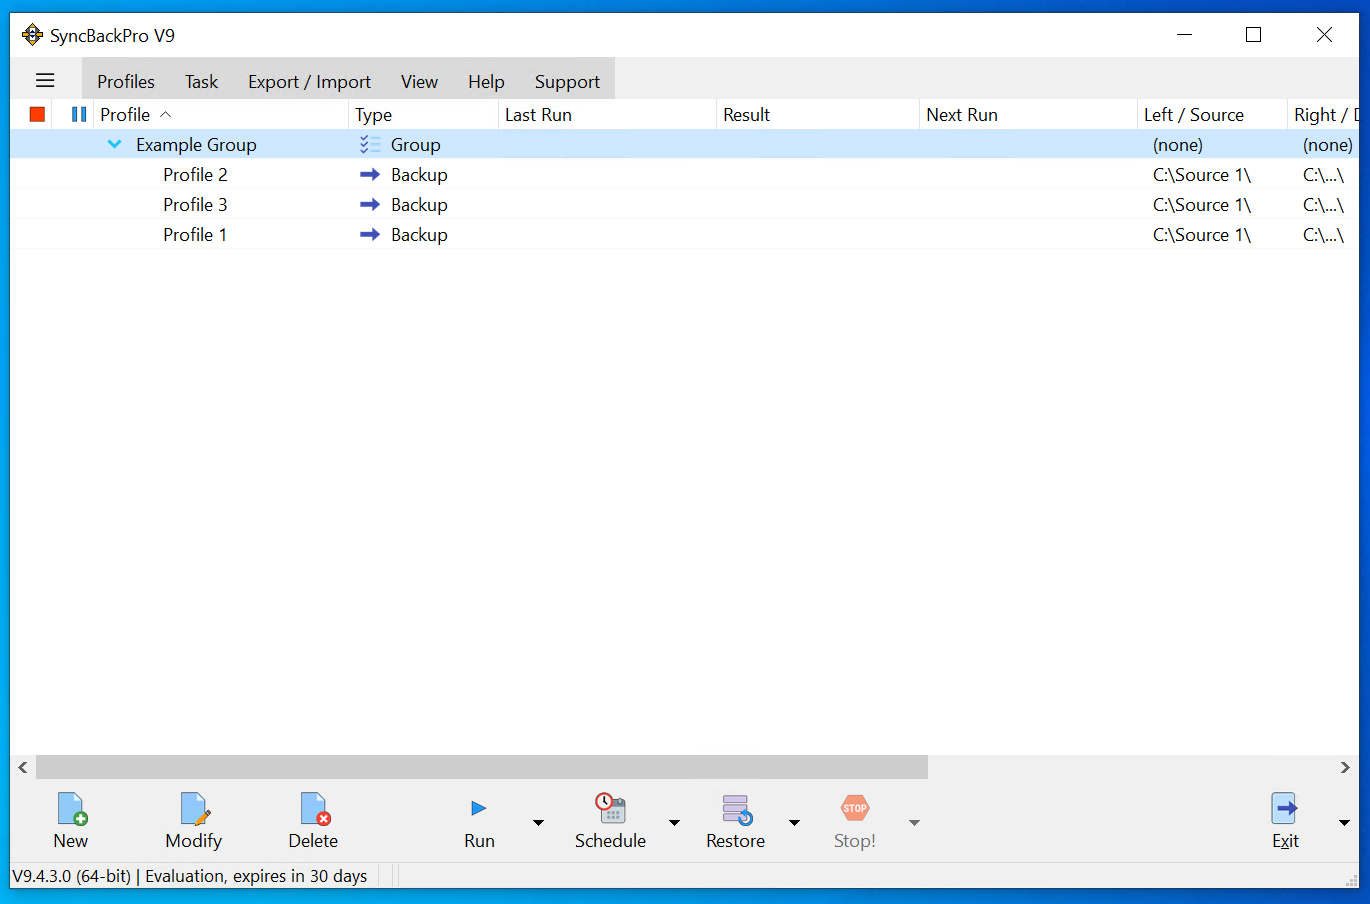
Now we can see what profiles in the group and what order they will run in